
November 22, 2021
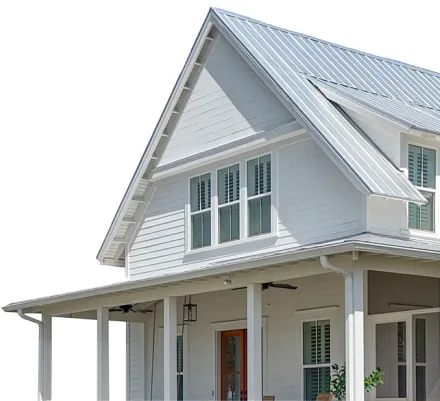
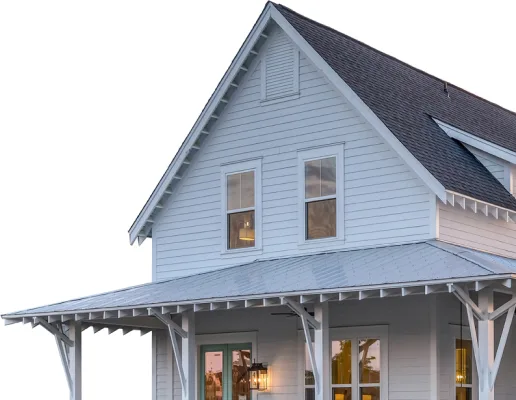
Steps to Building a House: Putting the Bones Up

The future homeowner has been able to play a role in this series’ previous Steps to Building a House. Yet when it comes to putting the bones up, you’re likely to be on the sidelines. It can be exciting to drive up and see the work in progress, but you likely want to leave the framing or HVAC installation to the experts.
We’ve talked already about Picking a Location and Finding Your Builder. Still, knowing what is involved at this stage of the home building process can help feed your excitement about seeing your house take shape. This article rounds up the five steps that happen before you get involved again via the design decisions.
#1 Install footing and foundation
Every house starts with a solid base. You picked a great site already. Your builder has prepared for the construction by acquiring permits and prepping the site. Now it’s time to put in the footing and foundations.
The footing is the bottom of a foundation, generally wider than the foundation wall. The footing is typically concrete with rebar reinforcement located below the frost line. It is there to support the foundation and prevent settling.
The foundation is made of poured concrete also reinforced with steel rods. If there’s a basement or crawl space, that will be poured as part of this step. Otherwise, you may have a slab foundation. After the concrete cures, crews will apply a waterproof membrane and then get a city inspection to ensure they are up to code.
#2 Frame the house
The framing step is literally putting up the bones of the house. This is when you can start to see the home take shape and really begin to visualize yourself there.
Rough framing puts in the floor system, wall studs, and roof trusses. Next, the crew applies a plywood or oriented strand board (OSB) sheathing to the skeleton of the house. This sheathing is then wrapped with house wrap to protect from moisture.
Be prepared, your house might be bright green and touting a building company at this point as the house wrap is an opportunity to advertise. It won’t last long, don’t worry.
#3 Put in plumbing, electrical, and HVAC
Happy hand-clapping, now it’s time to install the important systems for your home. This involves several subcontractor crews as different teams will come in to put in your plumbing pipes, sewer lines and vents, water supply lines and bathtubs and shower units, as well as electrical wiring and heating and cooling systems and ducts.
Each of these requires a local inspector to come in and sign off that the work is compliant with building codes.
#4 Install insulation
Needs will vary, but no matter what climate you are building in, you’ll want to put in some insulation. Common options are:
- Fiberglass
- Cellulose
- Foam mineral wool
- Concrete blocks or forms
- Spray foam
- Foamboard
Insulation helps to keep your home at a consistent, comfortable temperature. It also plays an important role in your home’s energy efficiency. Insulation is installed in walls, attics, floors, crawl spaces, ceilings, and basements to act as a barrier for air and/or vapors.
#5 Complete drywall
Drywall is a mold and fire-resistant board made of mined gypsum. Back in the day, plaster was applied wet to wood strips. Now, gypsum rocks are mined, crushed, and mixed with water then poured over a backing and dried to create large, preformed sheets. The drywall panel can be hung to the interior frame of the house with drywall screws.
It is the material of choice for interior walls as it is relatively inexpensive, easy to repair, and can be quickly primed and painted.
What’s next?
The trims, the floorings, the countertops, the exterior and interior finishing touches — a.k.a. the fun stuff. So, you should be looking forward already to our next blog in this series covering those next steps in building a house.
In the meantime, if you have questions about buying a house or where to buy, contact Saussy Burbank’s real estate experts. We’re here to help!